
Holiday Gift Guide: 15 Retro Gaming Gifts Under $50
Fifteen retro gaming gifts that stay under fifty dollars, from cleaning kits and cartridge stands to...

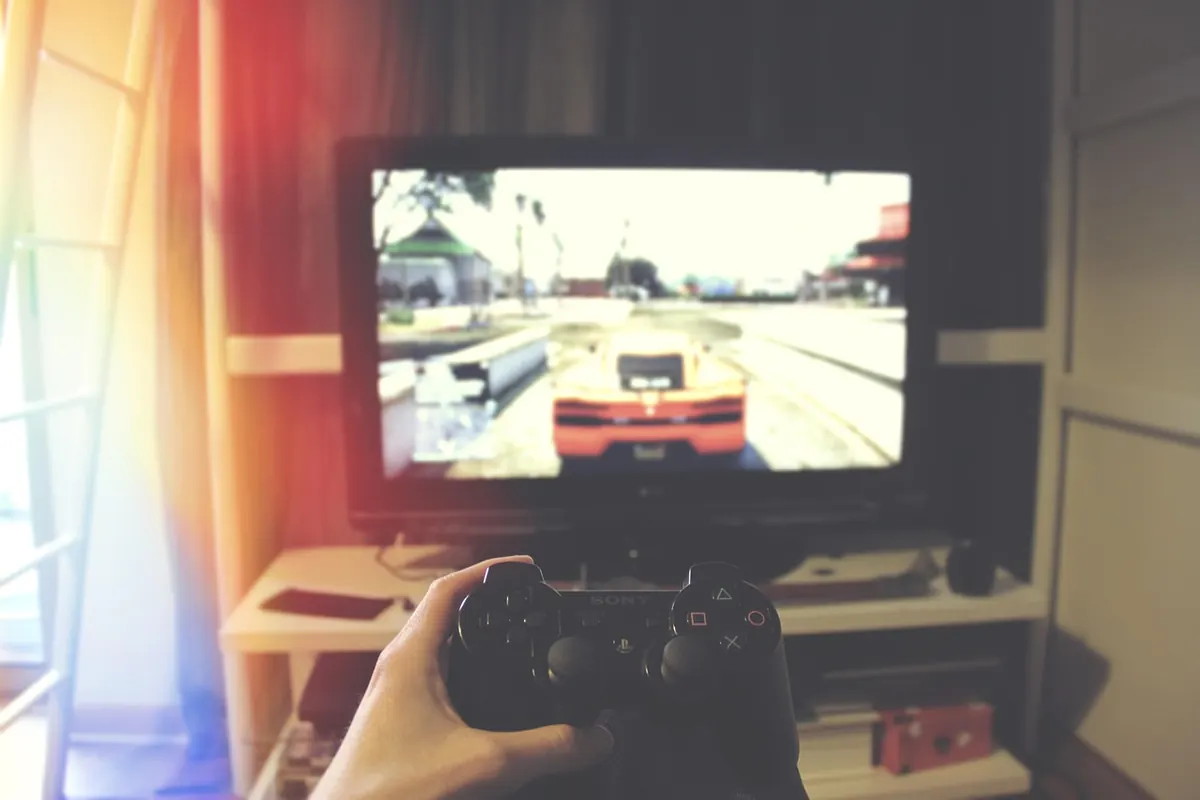
A retro gaming setup does not require a shelf full of boxed consoles or a professional scaler. Most of the money people spend goes on things that barely affect how a game looks and feels: sealed copies, acrylic stands, LED mods. Strip that away and you are left with a console, a cable, a screen, a controller, and a place to plug it all in. That list can be covered for well under $200 if you choose carefully and buy in the right order.
The fastest way to blow a budget is to buy four consoles at once and then realise you have no cables, no controllers, and no screen good enough to enjoy any of them. Pick one machine and commit to it for a few months.
If you have no strong attachment, think about value. The PlayStation 2 plays original PlayStation discs and has a huge, cheap library, so a single box covers two generations. Sega Genesis and Mega Drive hardware and cartridges are generally friendlier on the wallet than Nintendo's 8- and 16-bit machines, where prices have climbed for years. Whatever you choose, buy for the games you will actually play, not for the ones YouTube told you to want.
Local classifieds, flea markets, car boot sales and second-hand shops are where the bargains live, because sellers there are competing with other locals rather than with the whole internet. Online marketplaces are more convenient but you pay for it.
When you buy in person, ask to see it running. A console that boots to a menu, reads a disc or cartridge, and responds on both controller ports is worth more than a cosmetically perfect one that has never been tested. Yellowed plastic is harmless. Missing cables are not, because replacements add up fast.
Be wary of anything sold as "untested" unless the price is genuinely low. Untested usually means broken with a polite label.
This is where a budget setup separates itself from a bad one. The video cable in the box is often the worst one ever made for that console. In rough order of quality: RF, composite, S-Video, RGB SCART or component, then HDMI on newer hardware.
Moving from composite to S-Video or RGB SCART is the single biggest visual jump you can buy for a small amount of money. Text becomes readable, colours stop bleeding into each other, and details you never noticed appear. Availability depends on region: SCART is the natural choice in Europe, while S-Video and component are more common in North America. Buy a cable made specifically for your console model, not a generic multi-console one.
Do not overlook the power supply. A cheap, under-rated, or wrong-region adapter can run hot and damage the console. Match the voltage and polarity the hardware expects, and if you are unsure, buy from a seller who lists proper specifications.
Nothing beats a CRT for 240p and 480i games, and the best part is the price. Small sets appear free or nearly free on classifieds because nobody wants to move them. A 13- to 20-inch model with S-Video or component inputs is ideal for a desk, and it is light enough for one person to carry.
If you are using a modern flat panel, plug in composite only as a temporary measure. It will look soft and smeared. Check the TV's game mode to cut input lag, sit further back, and accept the compromise until a CRT turns up locally. Cheap "HDMI converter" boxes are a gamble; the good scalers cost more than this entire build, so save that upgrade for later.
Spend here before you spend on cosmetics.
Skip these for now: LED mods, custom shells, region switches, and flash carts. A flash cart is a wonderful purchase once the rest of the setup is finished, but it is not the foundation.
Prices shift by region and season, and retro hardware is not getting cheaper, so treat these as rough targets rather than promises.
If a particular console is fetching silly money in your area, switch to a cheaper one. The goal is playing games, not completing a set.
Give the console room to breathe, keep the cables tidy behind the screen, and label anything you unplug so future you is not guessing. Clean cartridge contacts and disc surfaces before the first session, and test everything on day one so you can return faulty gear while you still can.
Then stop shopping for a while. Play through something properly, note what actually annoys you, and fix that one thing next. A setup built this way ends up cheaper and far more enjoyable than one assembled in a single enthusiastic weekend.
Photo: Pexels / Pixabay
Fifteen retro gaming gifts that stay under fifty dollars, from cleaning kits and cartridge stands to...
A practical playbook for starting a monthly retro gaming meetup: finding a venue, picking a format,...
Nine mistakes new retro collectors repeat, from overpaying for loose discs to storing boxes in damp...